How to Beat Gro the Great (Bilewater Final Boss) — Complete Hollow Knight: Silksong Strategy Guide
9/28/2025
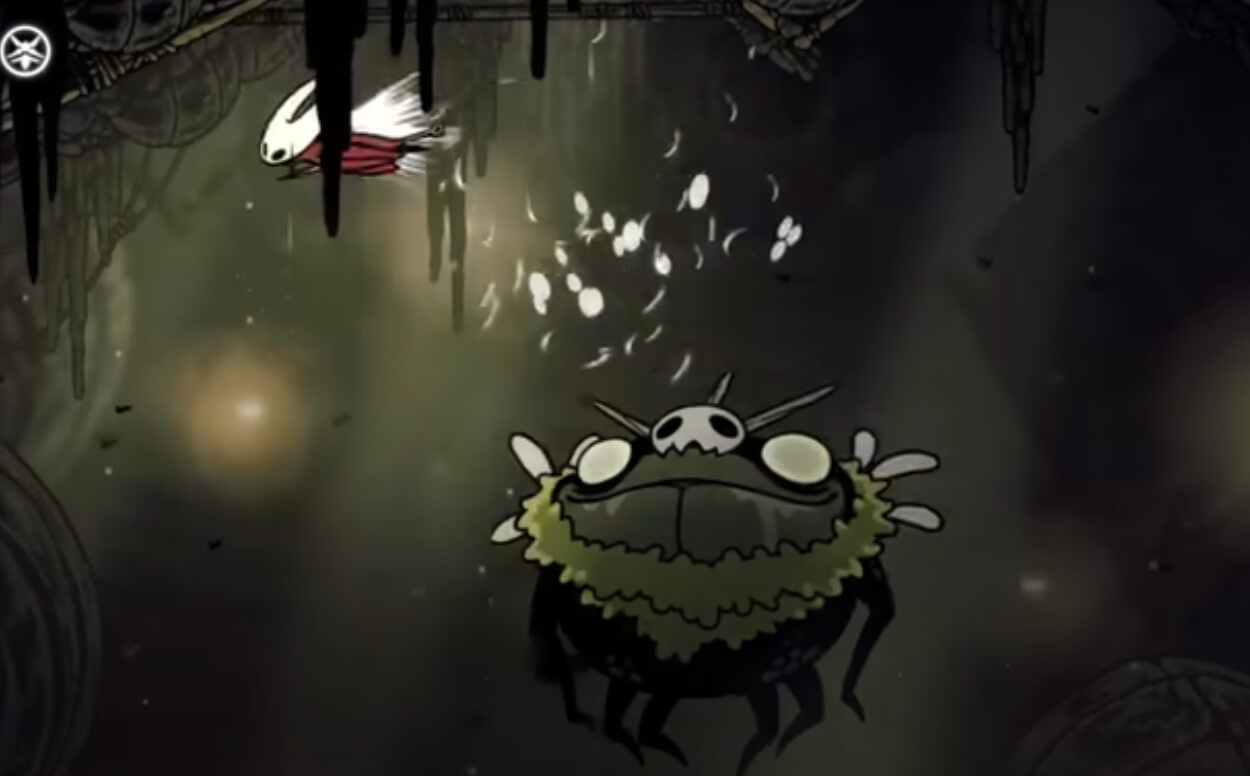
Gro the Great is the final boss of the Bilewater region and presents one of the most challenging fights due to complex arena mechanics and trap systems. This comprehensive guide breaks down the essential strategies, positioning techniques, and the crucial "wall-cling + dash + down-slash" combo that will help you defeat this formidable opponent.
📋 Table of Contents
- Preparation and Setup
- Fight Phases and Core Strategy
- Key Attack Patterns and Counters
- Common Mistakes and How to Avoid Them
- Quick Reference Guide
🎯 Preparation and Setup
Essential Preparation
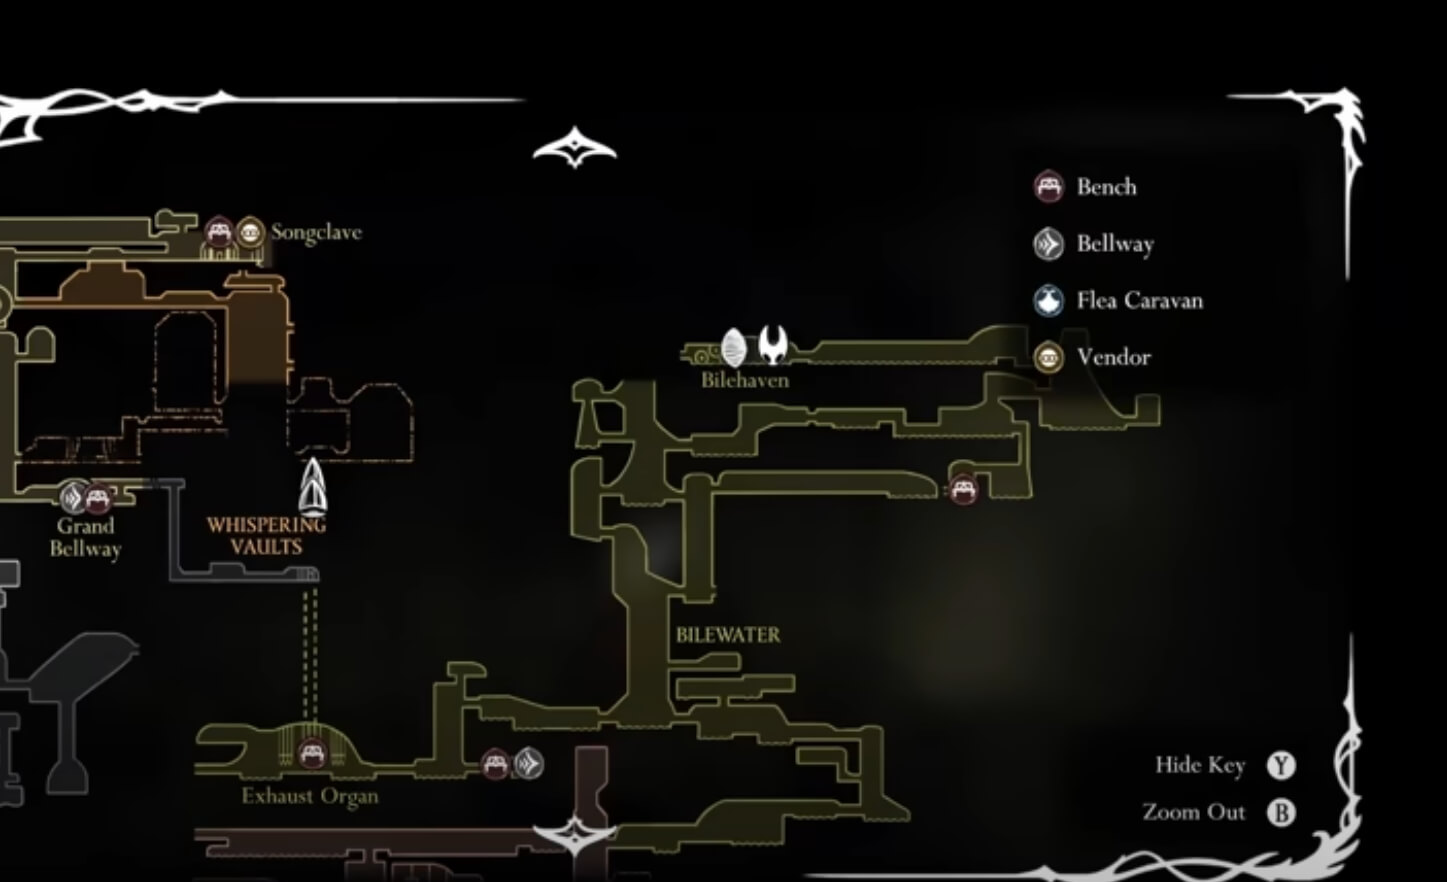
- Locate the Bench: There's a bench to the right of the fight entrance - find and remember its location
- Recommended Charm: Hunter Crest for angled thrust attacks
- Mental Preparation: This is a patience-heavy fight that prioritizes safe play over aggressive damage
Pro Tip: "Half the battle is literally just getting here in one piece" - expect multiple attempts and focus on reaching the boss consistently first.
⚔️ Fight Phases and Core Strategy
Overall Strategy
The fight revolves around spatial control and height management. Always stay close to walls and maintain position on one side of the arena, using wall-cling mechanics for safe combo execution.
Phase 1 (Minion and Trap Management)
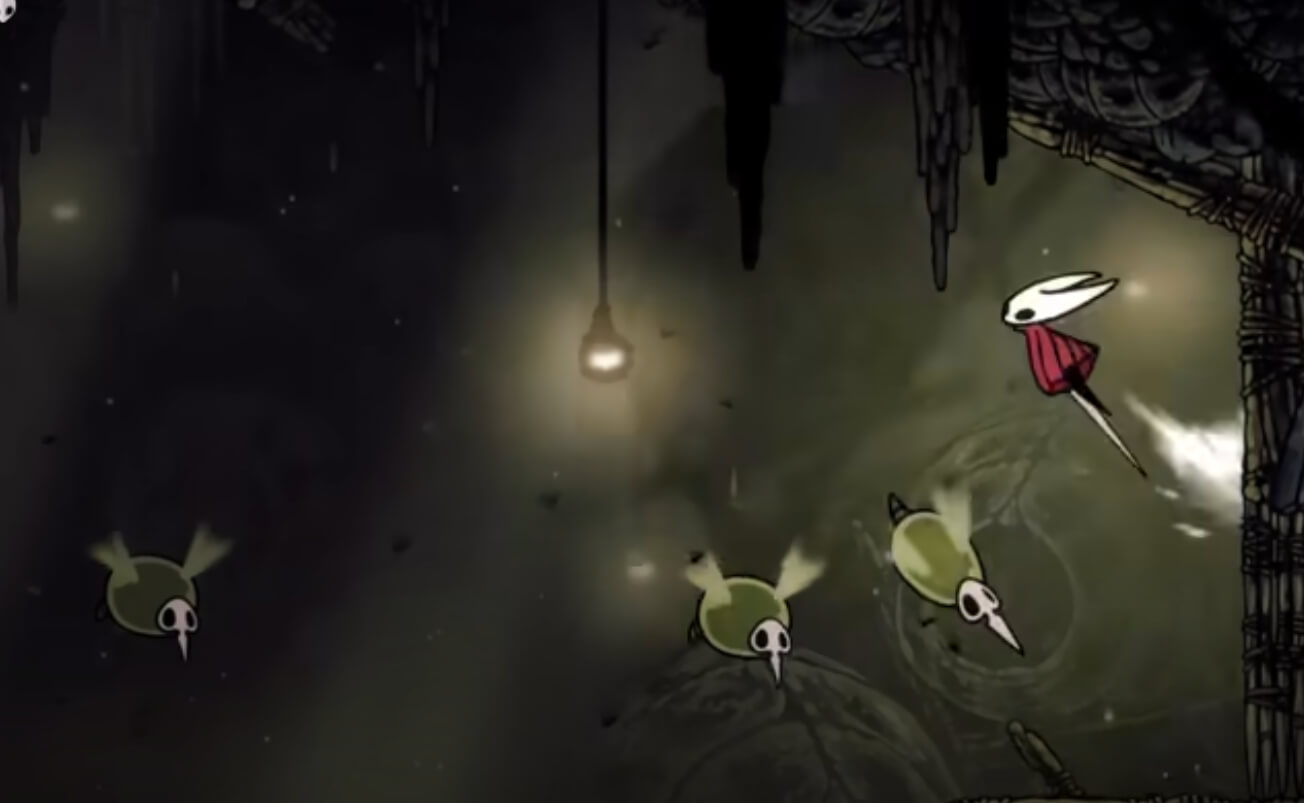
Dealing with Minions
- Stay on one side: Never wander into the center of the arena
- Use pogo attacks: Jump with minions to stay above them, then pogo on their heads
- Control distance: When minions are far away, wait patiently rather than chasing
- Maintain height advantage: Keep yourself higher than the minions whenever possible
Mosquito Management Strategy
- Prioritize positioning: Mosquitoes seem easy but can trap you in bad positions
- Avoid being pushed into traps: Don't let mosquitoes force you into maggot trap areas
- Safe positioning over kills: Maintaining good arena position is more important than eliminating mosquitoes quickly
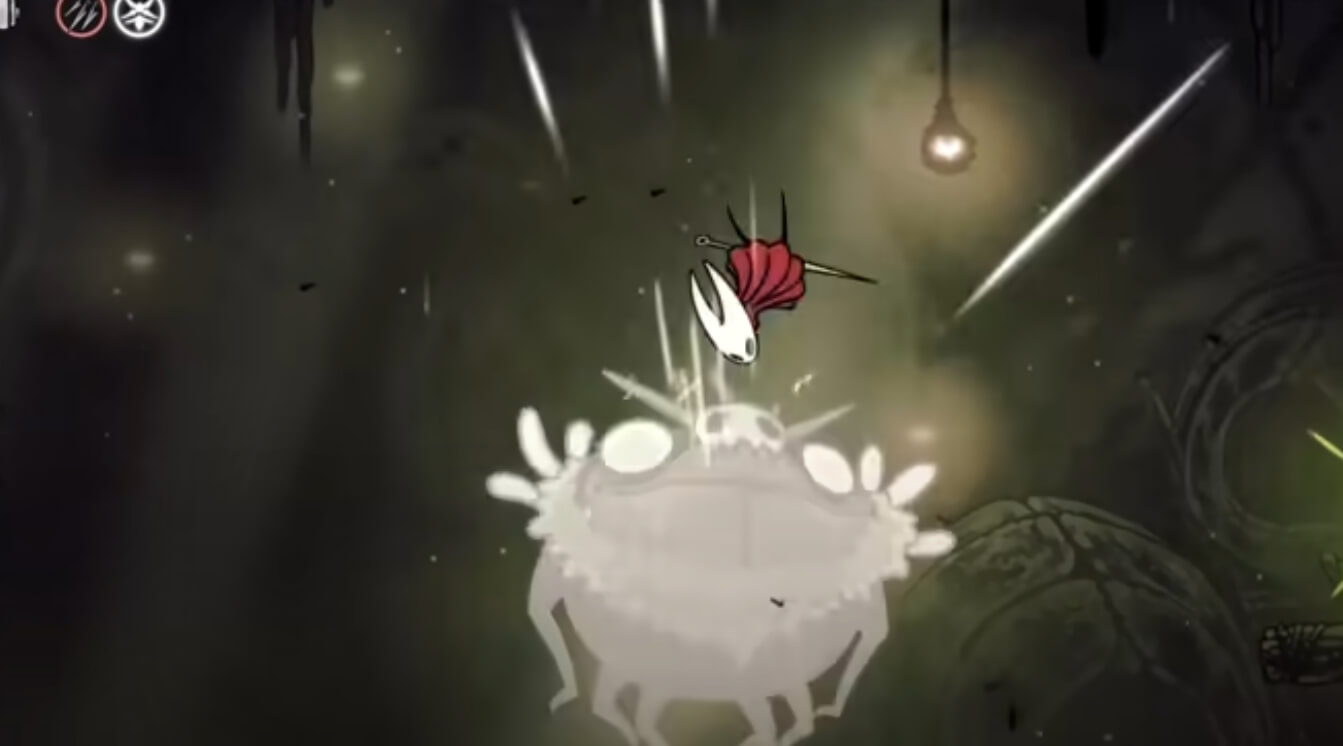
🔄 Essential Combo: Wall-Cling + Dash + Down-Slash
This is the "bread and butter" technique that makes the fight manageable and provides consistent safe damage.
Combo Breakdown
- Wall-cling: Jump to the wall and perform a wall-cling
- Jump away: Jump off the wall toward the boss
- Side dash: Immediately perform a sideways dash to adjust angle
- Down-slash: Execute a down-slash to hit the boss's head
- Use bounce: Utilize the attack bounce to regain air time
- Return to wall: Use air time to dash back to wall safety
Critical Points
- Stay low on walls: Keep your wall position low so the boss comes to your height
- Listen for trap audio: When you hear trap sounds, immediately abort and return to safety
- Practice until muscle memory: This combo must become automatic for consistent success
Key Insight: "Stay low because he comes to your height. If you're hanging around up here, then he'll be up here, and when he spits those green orbs, you can't go over them."
🎯 Key Attack Patterns and Counters
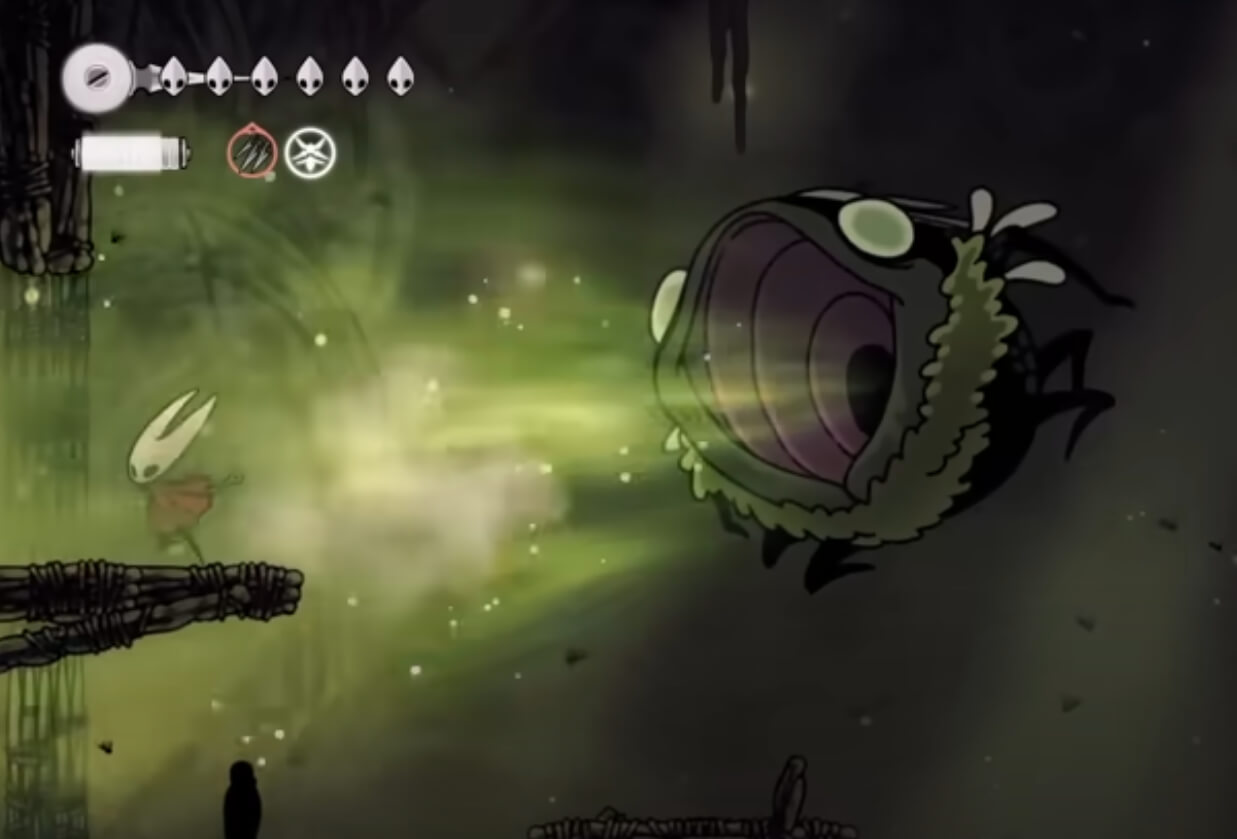
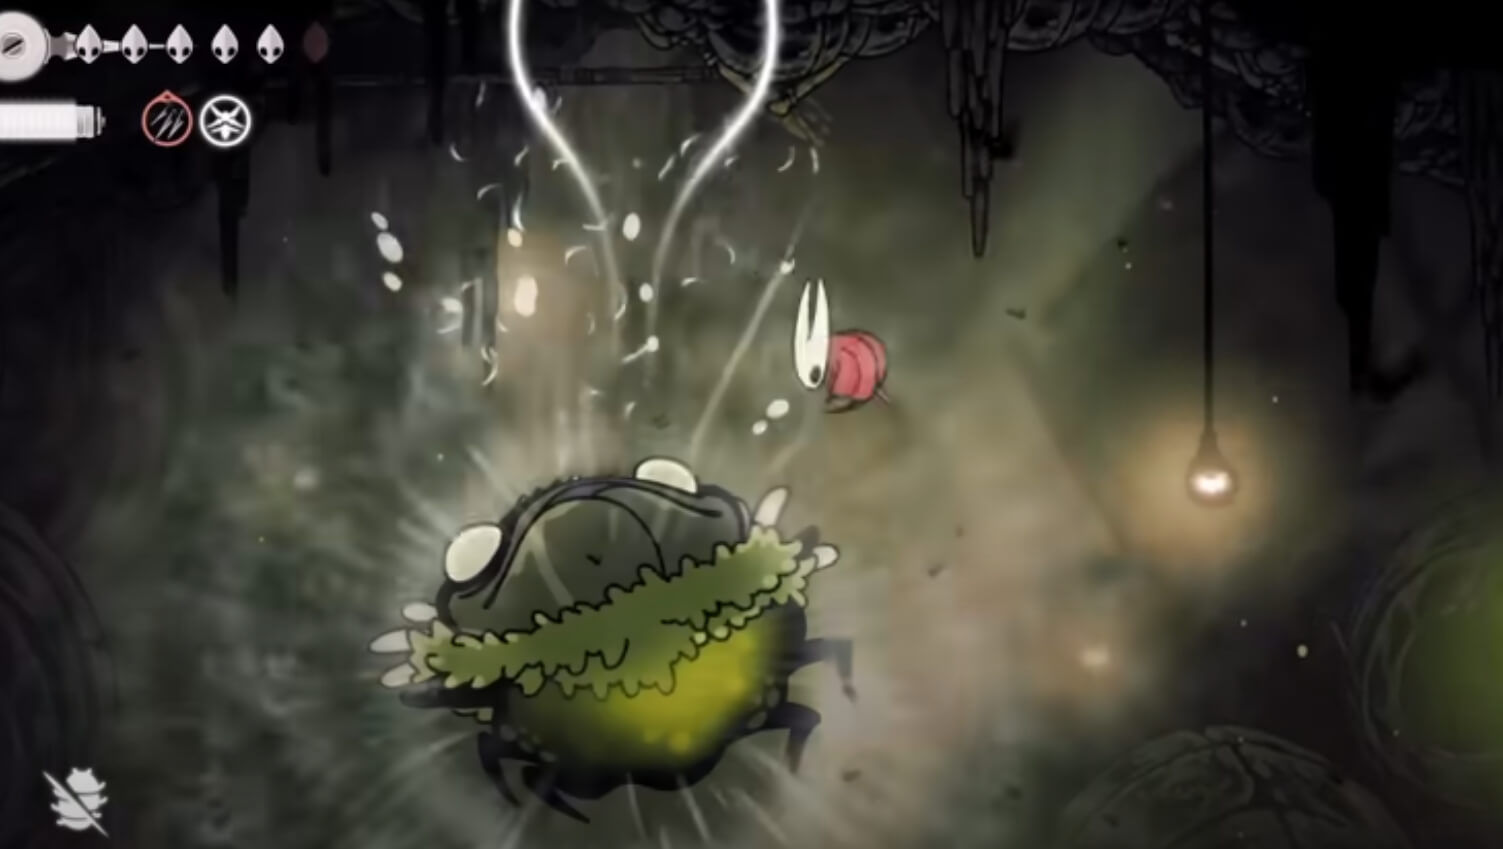
Suck Attack and Orb Patterns
- Suck attack recognition: When the boss moves to the bottom, expect a suck attack
- Post-suck counter: Immediately move in for damage after the suck animation
- Green orb strategy: Stay low so orbs shoot overhead, then jump over them and land on the boss
- Pattern recognition: If boss throws orbs directly, he won't suck; if he moves to bottom first, suck attack incoming

Trap Audio Cues
- Listen for audio: Traps have distinct audio cues before activation
- Immediate retreat: When you hear trap sounds, immediately return to wall and wait
- Avoid air movement: Don't be airborne when traps activate - you'll be forced down into maggots
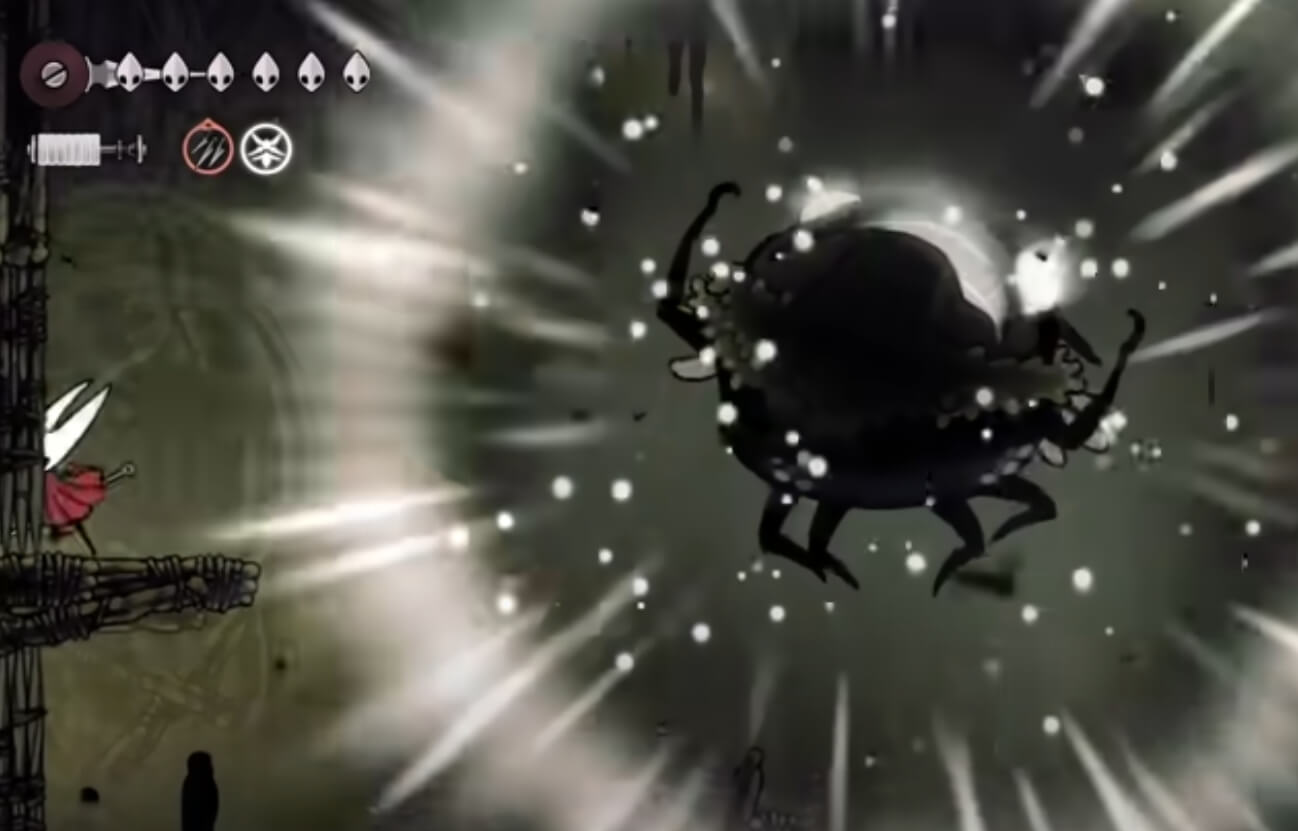
🔥 Phase 2 (Aggressive Assault Response)
Phase Characteristics
- Boss enters enraged state with more frequent and intense attacks
- Increased area-of-effect attacks requiring more defensive play
- Continue using wall-cling combo but with greater emphasis on timing
Response Strategy
- Defense-first mentality: Don't get greedy with damage - survival is priority
- Wall protection: The wall is your best friend and blocks most high attacks
- Patient opportunity waiting: Look for safe damage windows rather than forcing attacks
❌ Common Mistakes and How to Avoid Them
Primary Mistake Categories
- Ignoring trap audio cues → Frequently falling into maggot traps
- Positioning too high → Unable to jump over green orbs, limiting damage opportunities
- Poor wall-cling combo execution → Can't safely return to wall position, vulnerable to combos
- Phase 2 overaggression → Attempting to trade hits with intense attacks, leading to failure
Improvement Strategies
- Practice wall-cling combo until it becomes muscle memory
- Always prioritize trap audio cues - abort any action when you hear them
- Focus on spatial control over damage output
- Maintain patience and steady play throughout
📝 Quick Reference Guide
Pre-Fight Checklist
- ✅ Locate and remember bench position
- ✅ Equip Hunter Crest charm
- ✅ Set expectations for multiple attempts
Combat Essentials
- ✅ Stay low on walls for optimal positioning
- ✅ Master the wall-cling combo sequence
- ✅ Listen for trap audio and retreat immediately
- ✅ Use pogo attacks for minion management
- ✅ Counter-attack immediately after suck attacks
Things to Avoid
- ❌ Don't linger in arena center
- ❌ Don't ignore trap audio cues
- ❌ Don't get greedy in Phase 2
- ❌ Don't position too high on walls
Final Strategy Summary
Gro the Great demands technical precision, patience, and spatial awareness. The wall-cling combo is your primary tool for consistent damage, while trap awareness keeps you alive. Remember that positioning and safety always take priority over aggressive damage dealing.
Core Success Elements:
- Wall-cling combo mastery
- Trap audio recognition
- Spatial control awareness
- Patient, steady mindset
Good luck with your Bilewater adventure! If this guide helps you succeed, explore more boss locations and strategies on the Silksong Map.
Silksong Map Team September 28, 2025